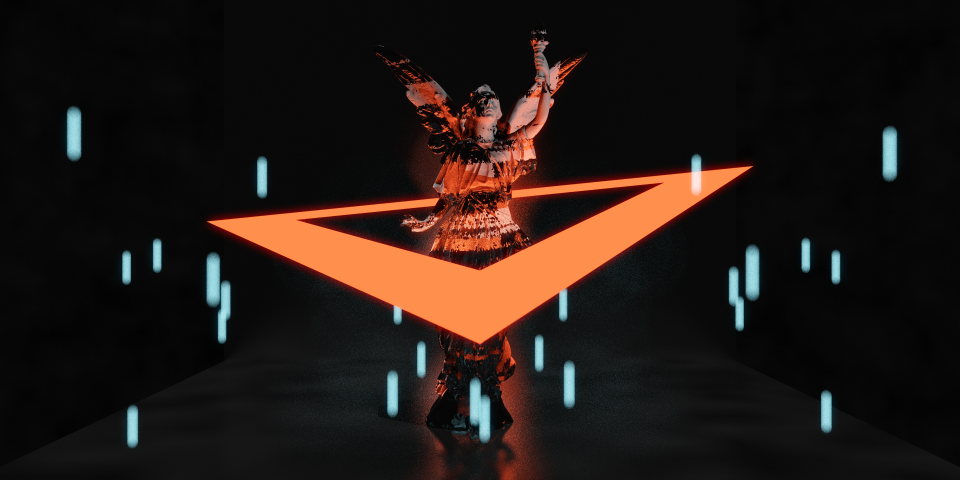
An entry to the CG1 rendering competiton made by Aaron Bies
Find out moreYou can download the final render in different sizes below!
4320 x 2160 2160 x 1080 480 x 240
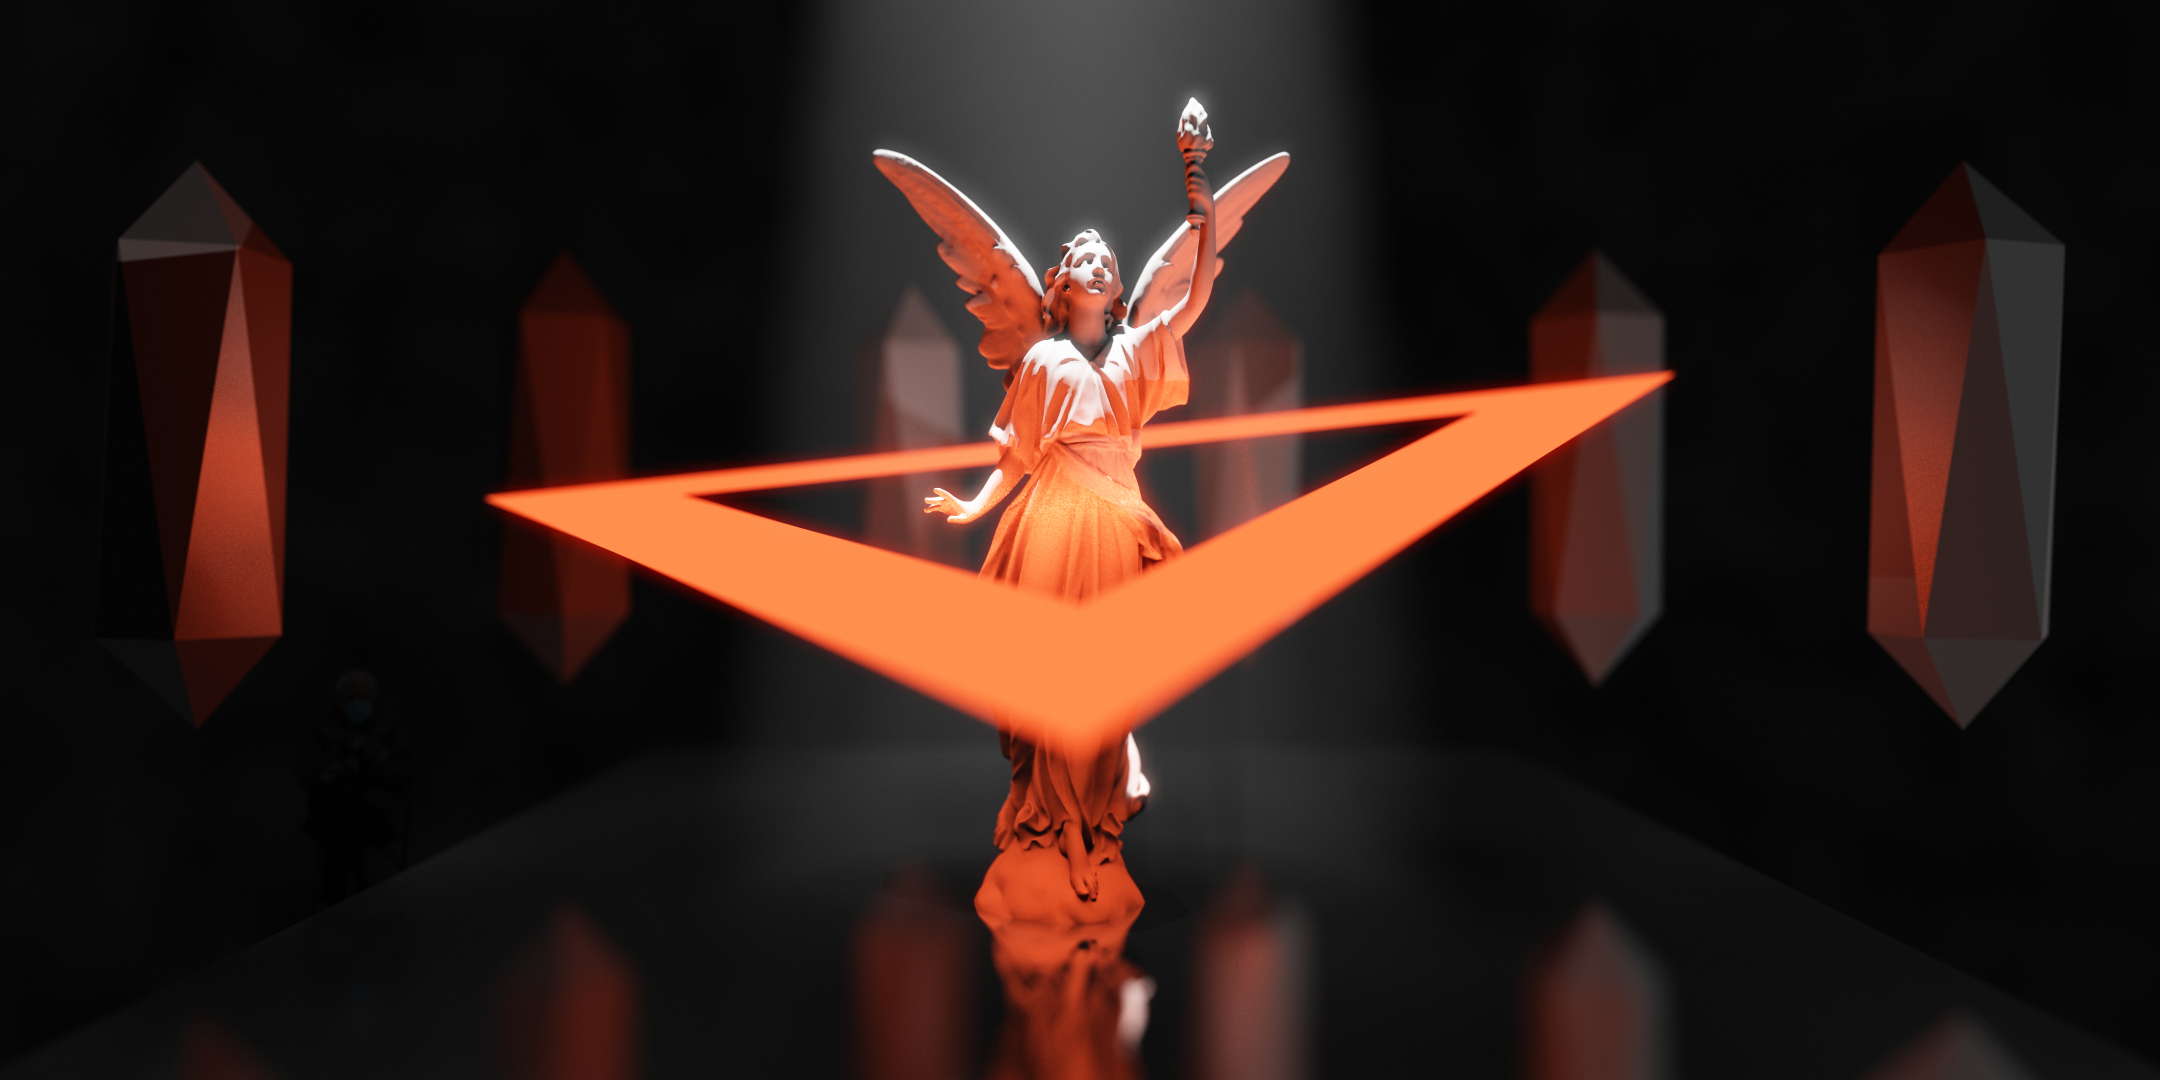
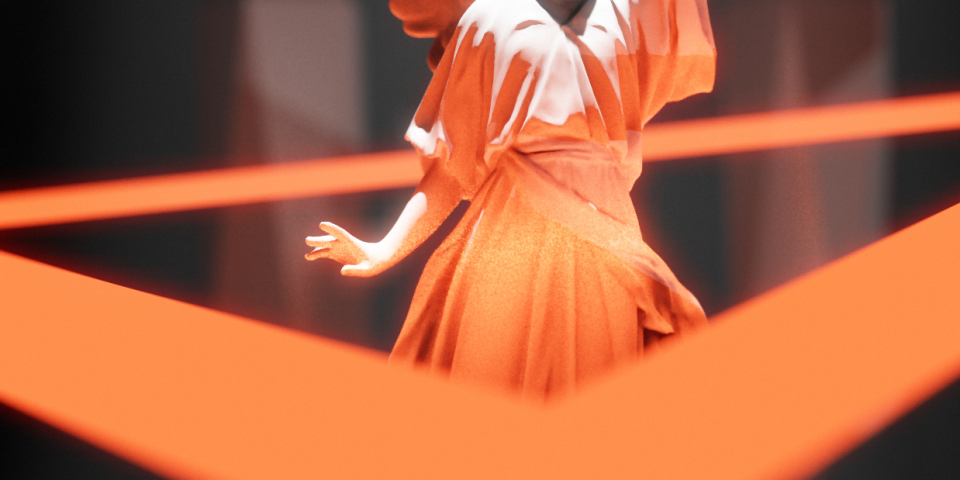
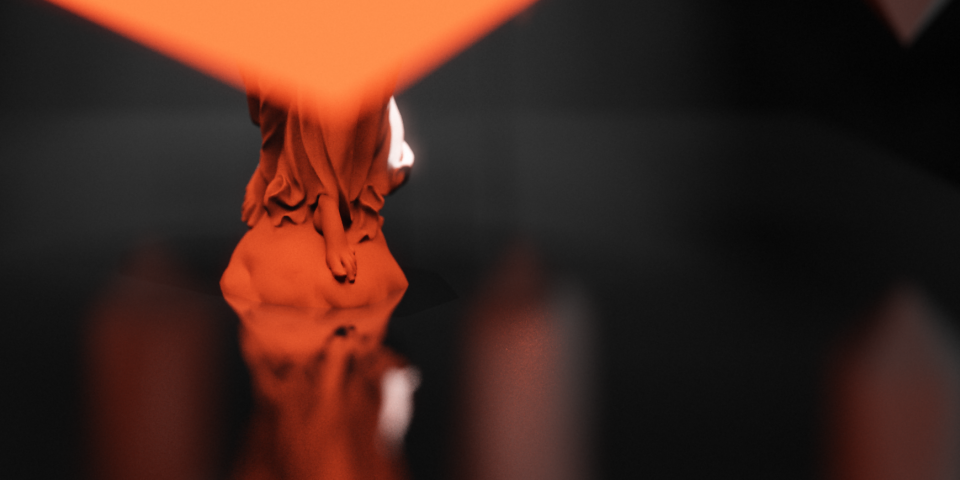
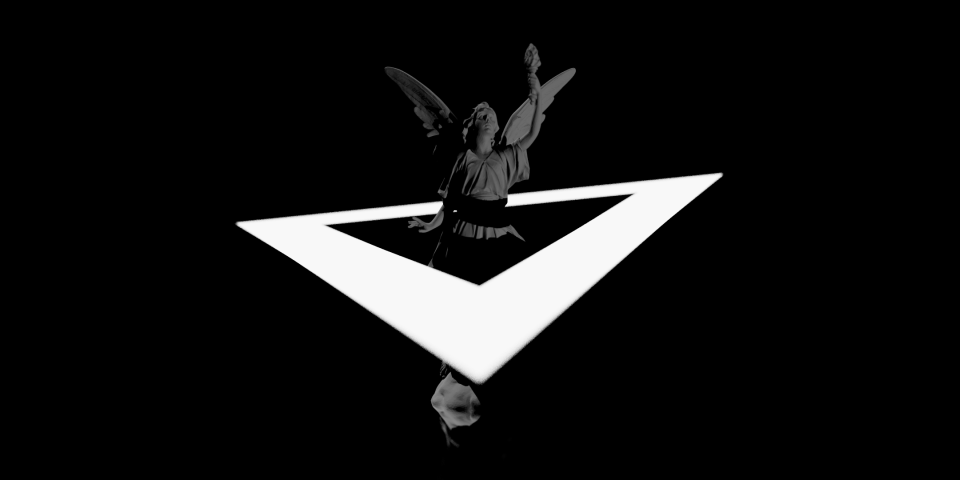
This is by far the most prominent light source in the render. The triangle ring is an additional
solid I implemented on top of the regular triangle. It uses barycentric coordinates to compute the
distance between the hit point and the outer edge of the triangle. If that distance is greater
than a given thickness parameter, the intersection is ignored.
The solid also implements the area and sample functions needed to use it as an area light.
I used two of these triangle rings with opposite orientations stacked on top of each other to
allow the ring to cast light both upwards and downwards. To prevent intersections with the wrong
solid, the triangle ring is completely invisible from one side.
By far the biggest challenge with the triangle ring was getting the part of the statue, which is
on the same plane as the triangle to converge reasonably well. Because of the steep angle to the
area light, most light samples from this "belt region" are either dark or occluded. Only very few
samples actually contribute to the final color, which leads to extremely slow conversion. To fix
this, the surface normal returned by the sample function is slightly randomly perturbed, which
effectively blurs away the problematic region. To get rid of any remaining artifacts, a simple
star shaped median filter is applied to the image, once the render is complete.
Code path: rt/solids/triring.cpp, main/a_compo.cpp @ LN 198
The renderer implements a simplified version of volumetric rendering to give more focus the spot
light in the center of the scene. This was done by implementing a new "Holy Recursive Ray
Tracing Integrator" which extends an integrator from a pervious assignment by an additional
volumetric pass.
This pass works by intersecting a ray with the scene, then walking along the ray and checking for
visibility with the spotlight in each step. The samples checked along the ray are at equal distance
to each other, but offset by a random amount each time. Averaging over these samples gives
us an approximation of how much light is being scattered towards the camera.
In order to make the spotlight a little bit more natural, I implemented a new "Area Spotlight",
which randomizes it's position within a rectangular region. This helps to feather out the outer
edge of the cone, in which the spotlight functions.
Code path: rt/integrators/holyrecraytrace.cpp, rt/lights/areaspotlight.cpp
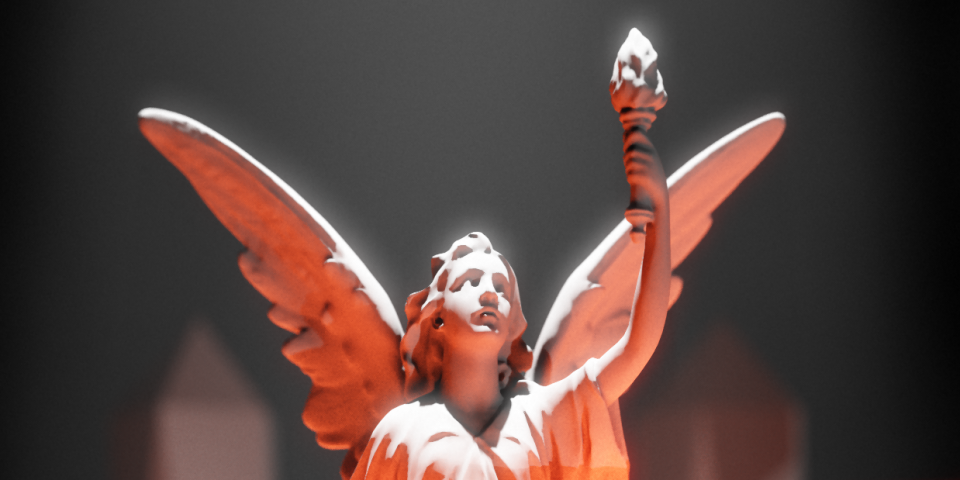
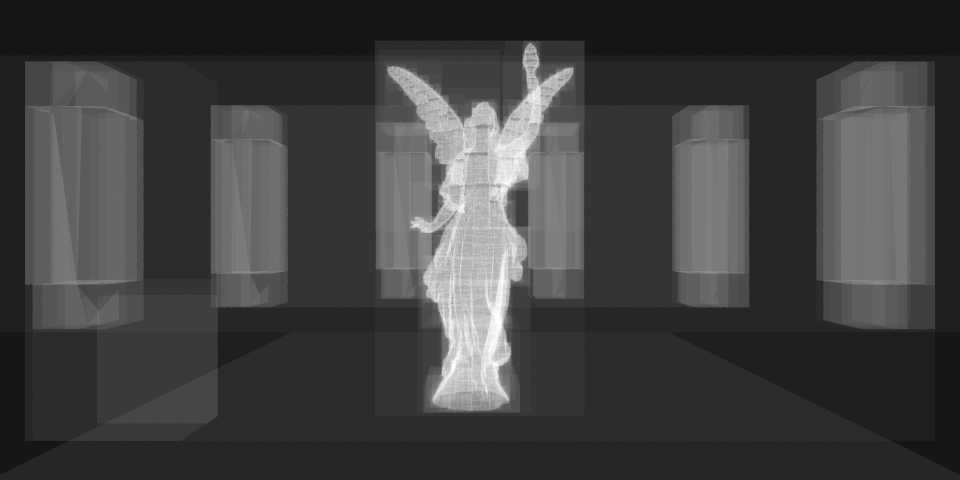
To make use of the "SmoothTriangle" class I implemented for a previous assignment, I added a
"tessel" function, which takes the triangles created by the "loadOBJ" function as input and
generates smooth triangles that represent the same geometry.
The function first iterates over the list of triangles and collects all vertices in the geometry
as well as the normals of the triangles, which are connected to those vertices. In a second pass,
the flat triangles are swapped out for smooth triangles, if the angle between the vertex normals
is small enough. If two of the vertex normals point too far away from each other, interpolating
between those normals may result in a zero vector. In this case, the triangle is not replaced.
Code path: main/a_compo.cpp @ LN 243
The bloom effect is a tool to make the highlights of the scene stand out even more. Something like this happens with real cameras when parts of an image are overexposed and the brightness bleeds onto the surrounding pixels. This effect is applied after the ray tracer finished rendering the image in it's entirety and before color correction is applied. In software this effect can be implemented efficiently using an iterative algorithm:
Code path: main/a_compo.cpp @ LN 57
The post processing pass is the last alteration of the image before it is written into the final png file. Its main propose is color correction, but some color grading is also applied. This pass consists of many small operations which are applied to each pixel in the image. I'm going to summarize these steps briefly here:
Code path: main/a_compo.cpp @ LN 145
A big part of the inspiration for this entry comes from two very different sources.
I got the idea for the general motive and composition of this piece from the cover art of the
album Triangle by Perfume.
The lighting was mainly inspired by this scene in Dope on Wax,
a 64k PC intro made by Logicoma, which was released at the Revision Demoparty in 2019.
The statue in the middle of the scene is an open-source model provided by Stanford University for
students to use for free. The model is called "Lucy" and can be found on this GitHub repository labeled
"common-3d-test-models". All
other 3D geometry is generated procedurally.
The picture of Bernie Sanders sitting in the cold has been taken from this article
which credits "Brendan Smialowski/AFP" for the photo. In case you don't know what I'm talking about,
you might want to take another look at my render.
This project has been implemented in its entirety by Aaron Bies, the only remaining member of group1Y.