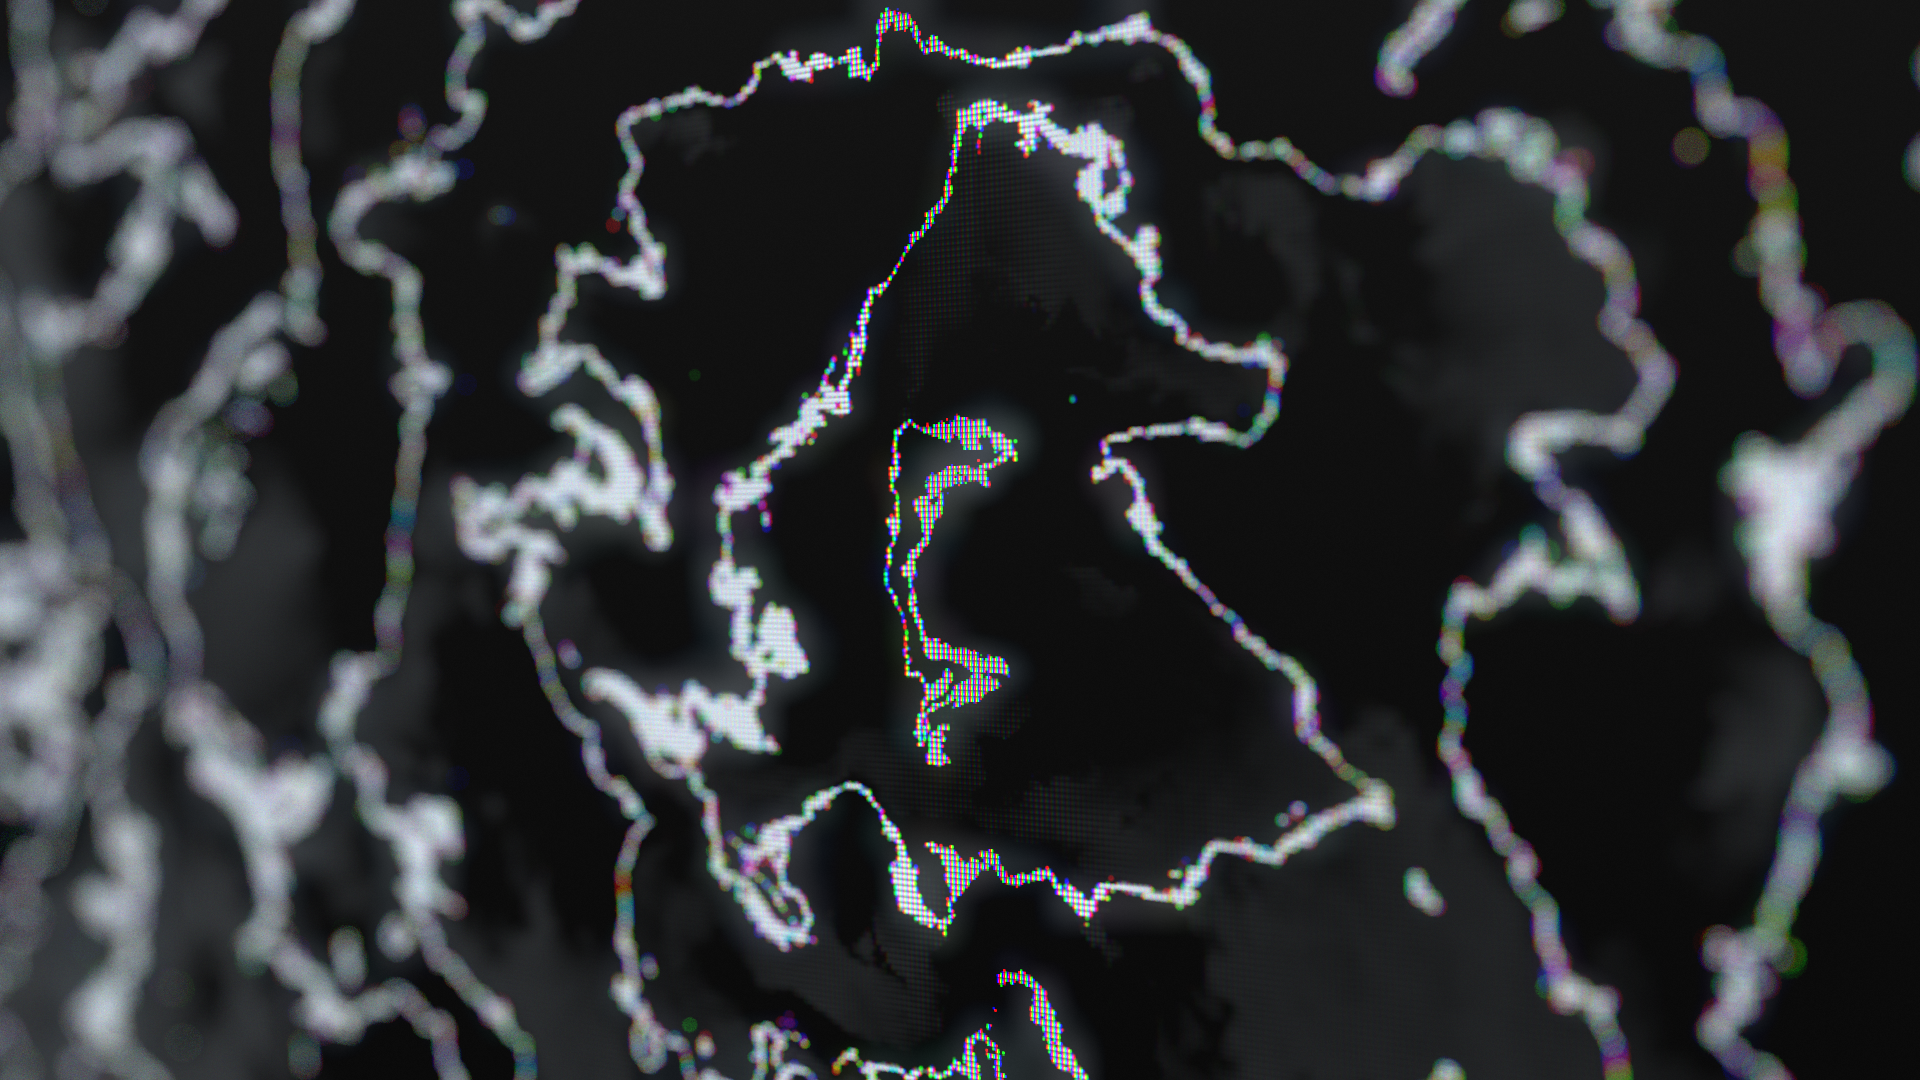
a 4k PC intro released at Revision 2020

[pouët]
First of all, I want to thank noby for their amazing work with the intro. Not only are they responsible for the entire soundtrack and gave the visuals a final touch, but they also provided the 4k intro framework Leviathan-2.0, which this intro is based on.
As a disclaimer, this write-up will be written from my perspective, and I will hence not spend too much time talking about the music or how the framework as linked above works.
Initial Experiments
One day, I was thinking about sub-pixel rendering, a technique commonly used in text rendering to increase the apparent resolution of the image. It uses the fact that the red, green, and blue components of each pixel are at slightly different locations on the monitor to display graphics at a sub-pixel resolution.
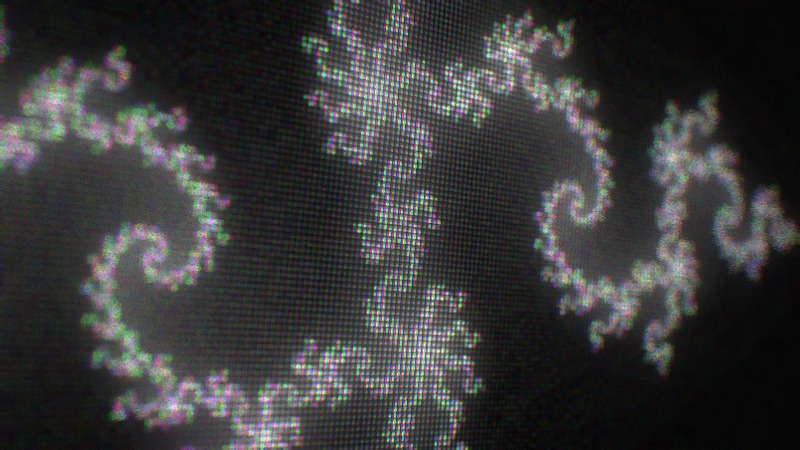
Even though this idea is nearly 50 years old, I haven't seen anyone use it on Shadertoy, so I wanted to try it. I made a little shader to render the Julia set fractal that computes 3x3 samples per pixel, where the left 3 samples contribute only to the red channel, the middle 3 control the green channel, and the right 3 the blue channel. To confirm the shader what working correctly, I took a couple of close-up photos of the screen with my phone.


Now this looks cool and all, but unless you press your face against the monitor, you're probably not going to notice the difference. Maybe I should show the audience what the image looks like up close. So, I tried to recreate the above pictures using shaders alone. Here is an early WIP screenshot.

(A slightly later version of this Shadertoy can be found here)
The Renderer
The intro is rendered in 3 stages, the first stage renders the image displayed on the virtual monitor, the second simulates the camera hovering in front of the monitor using a simple ray tracer, and the third stage does some post-processing.
The first stage produces an image that matches exactly what is seen on the virtual monitor, meaning this stage already simulates sub-pixels. This works by applying a mask to the output of that stage pixels are colored in red, green, or blue according to their position. This is what that mask looks like.

This way, a 3x3 block of pixels corresponds to just one pixel on the monitor. Each of the effects shown on the screen may choose to use either the actual pixel position or the fake monitor pixel position to enable/disable sub-pixel rendering. From there, the effects are mostly just simple 2D effects.
The second stage simulates the camera in front of the monitor using a simple ray tracer, but this stage also takes care of anti-aliasing, depth of field, and a tiny bit of lighting.
The 'geometry' in this intro is just a single infinite plane at the origin.
Since there is only one object and the camera never away from it,
we can skip the intersection check entirely and go immediately from ray origin and direction (vec3 o, d)
to the pixel coordinate we need to fetch to get the corresponding pixel on the screen.
Here is the corresponding line from the intro:
c+=texelFetch(D,ivec2(R.y*(o.xy-d.xy*o.z/d.z)+.5*R.xy),0)
    +.01*pow(.5+.5*d.y,3.);
The part of the expression on the second line is some light coming from above that is being reflected off of the screen. This ended up being close to unnoticeable in the final intro, but I kept it in anyways.
This ended up being fast enough so we can render this with 200spp for DOF and AA. According to a Shadertoy comment, the shader runs smoothly even on blackle's phone.
The third stage only does a little bit of post-processing. Specifically, it does bloom, gamma correction, and finally adds some film grain.
To compute the bloom, we sample one of the low-res mipmap textures of the previous pass to save ourselves from blurring the image manually. This texture tends to be a bit blocky, so we sample it a couple of times in a circle around the current pixel.
Miscellaneous Notes
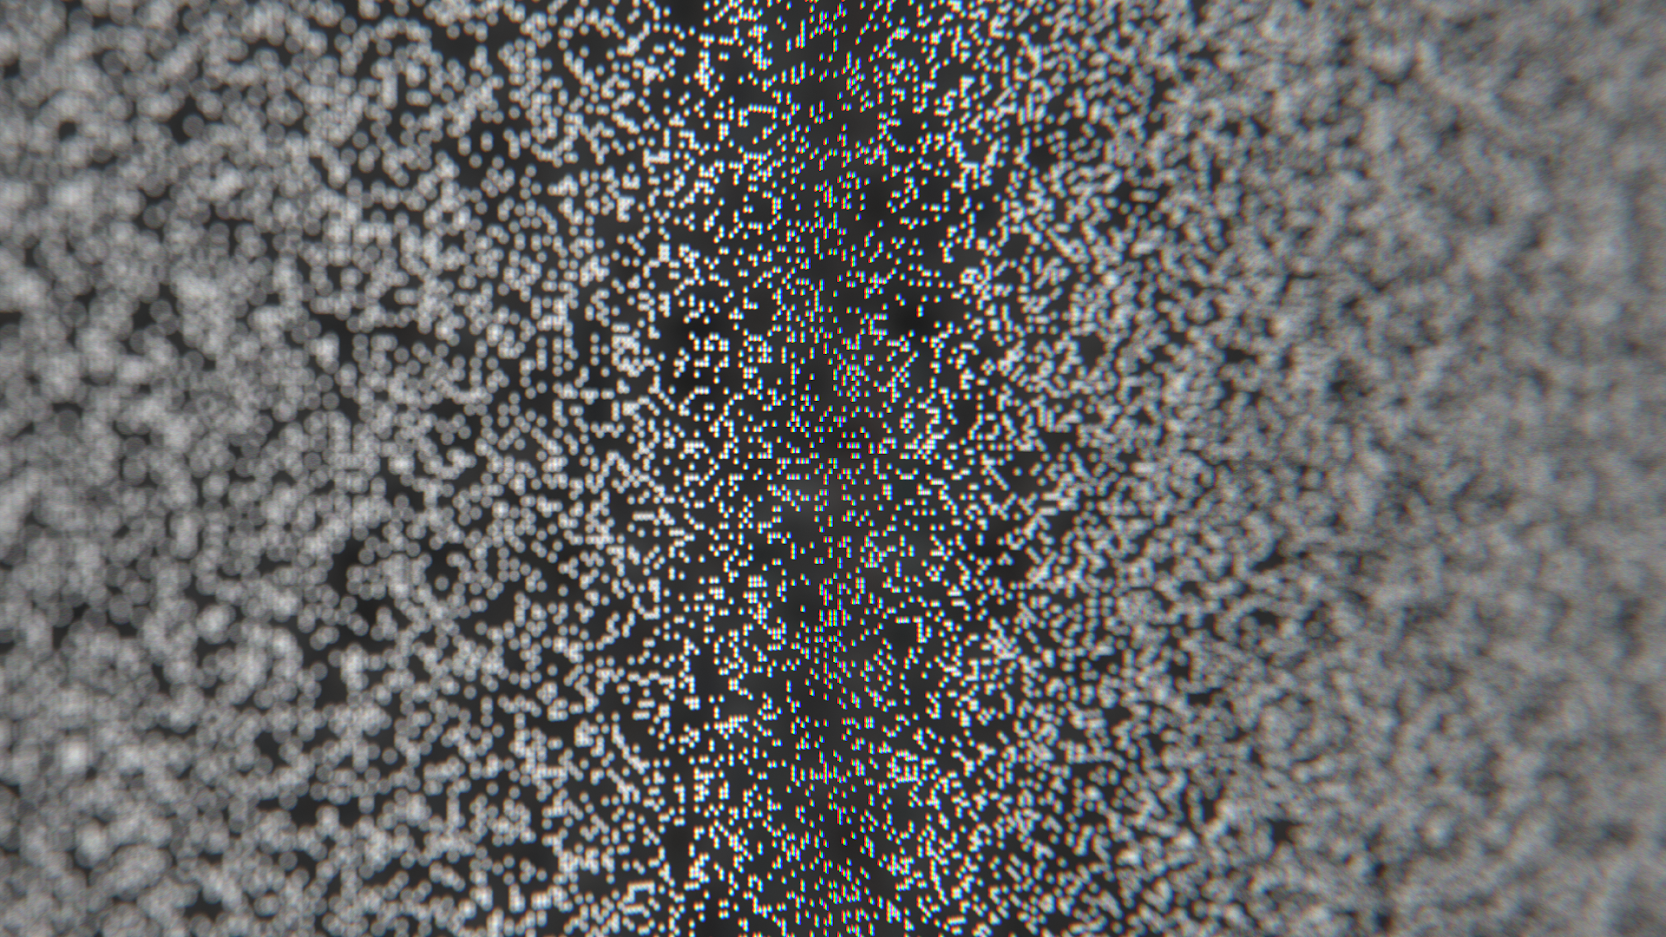
For the second and third 2D effect, I spent quite a lot of time going through different random seeds until I found a noise pattern I liked. The one I settled on for the third scene looks a little bit like there is the silhouette of a horse head in the center of the screen. (Maybe more like a chess figure, facing to the right? I don't blame you if you don't see it).

Well it turns out the noise function we used is extremely platform dependent and it's fairly unlikely you get the same pattern when you run the intro locally. Here is the hashing function in question:
vec2 H(vec2 p) {
    vec3 r=vec3(p,1);
    for (int i=0;i<4;i++)
        r=fract(1e4*sin(r)+r.yzx);

    return r.xy;
}
The main source of randomness is the sin function, which is implemented slightly differently depending on what graphics card you're using,
and this hash function is extremely good at amplifying these tiny differences.
(If you want to experience the intro the way we intended, check out the video linked on the pouët page).
Around the 1:32 timestamp, when the rain effect starts to distort, the lines slide sideways over the pixel grid, which causes the image to flicker violently. To prevent this, the saturation of the image is reduced to around 15% during the transition. This essentially disables the LCD-screen effect temporarily just to reduce flickering.
Originally, I also wanted to add chromatic aberration to the post-processing pass, but after some experiments, I realized this would strangely amplify the LCD-screen effect on the right side of the screen while almost completely canceling out the effect on the left, so I scrapped that idea. Here is a screenshot with chromab enabled.

In the last scene, there is a screen-space distortion effect applied in the first stage. This is done just to give the viewer something to focus on. Without it, we essentially get 2 layers of camera movement, both on and in front of the screen, which is quite disorienting to look at.
Conclusion
This entry blew up way more than I expected. We won 3rd place in the compo, which is already insane considering Revision is the biggest pure demoparty in the world. A year later, we also won the Meteoriks award for Best High-end Intro and got nominated for Best Soundtrack and Best Visuals.